 Beauty Guides
 Wishlist
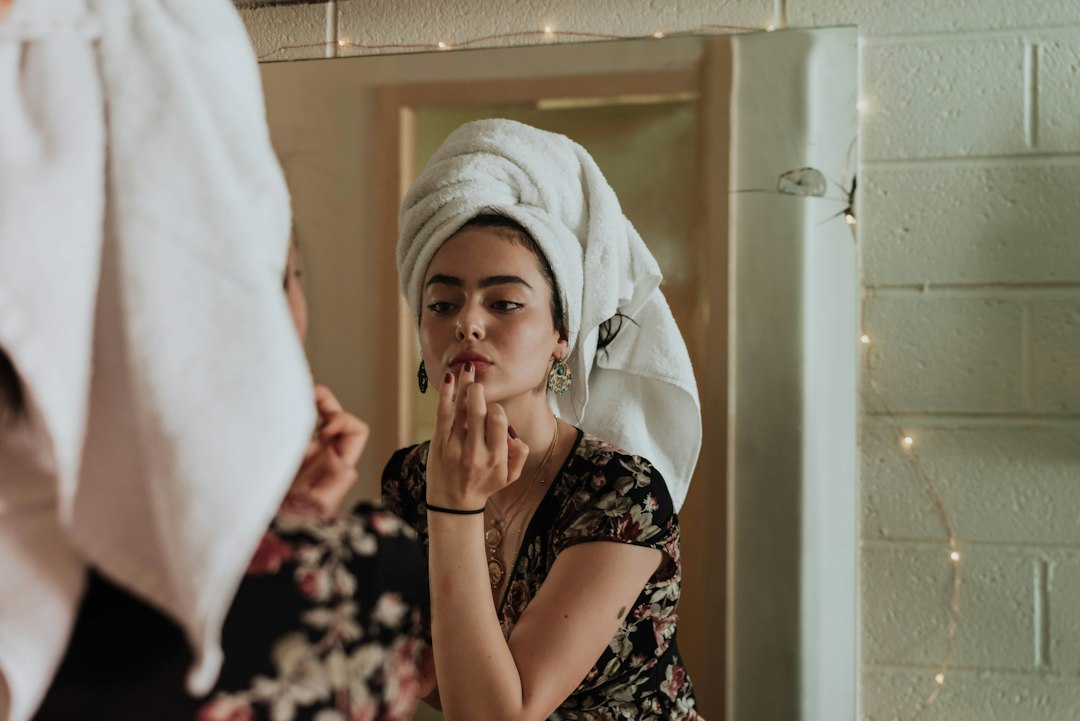
Picture your weekday: coffee in hand, five minutes before a call, wanting to look awake but not made-up.
The goal is a natural everyday makeup that reads like healthy skin and soft definition rather than layers of product. Start by imagining the finished look—skin that glows without obvious coverage, brows that frame without drawing attention, and eyes & lips that are subtly polished. Below is a practical order you can follow in under ten minutes, with troubleshooting tips where readers commonly stall.
Skin first: hydrate, prime, and choose light coverage
Healthy-looking skin is the backbone of a natural makeup routine. Begin with a gentle cleanser if you’ll be wearing makeup several hours, then apply a moisturizer suited to your skin type so makeup sits evenly. If you have dry patches, use a richer cream there; for oily zones, a lightweight gel helps control shine.
Next, use a small amount of primer only where you need it—pore-filling primer in the T-zone or a hydrating primer on cheeks. For base coverage, pick one of three approaches depending on time and skin concerns:
- Tinted moisturizer or BB/CC cream: quickest and most skinlike; evens tone while letting freckles and texture show.
- Sheer liquid foundation or serum-tint: use a damp sponge or fingers to sheer it out for a second-skin finish.
- Concealer-only: if you have generally clear skin, spot-conceal redness and under-eye darkness instead of applying foundation all over.
Blend outward and thin—the objective is translucent coverage, not opacity. If you tend to over-apply, remember a little goes a long way; you can always build in small increments.
Set selectively: powder where you need it, not everywhere
Instead of a full-face dusting, lightly press translucent powder only in areas that crease or become shiny (under the eyes, the T-zone). Use a small puff or a tapered brush and avoid mattifying the cheeks if you want a natural glow. A single quick swipe prevents shine without flattening skin texture.
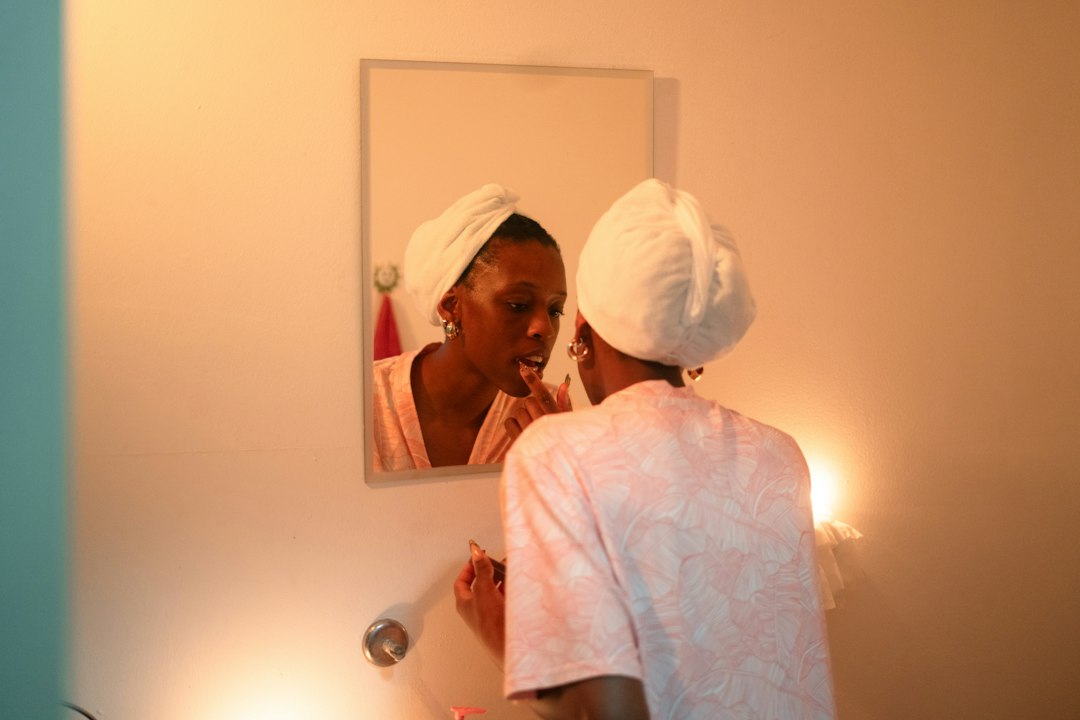
Cheeks and bronzer: choose cream products and tap, don’t swipe
Cream blush and bronzer mimic the way natural color sits on the skin better than powder. Smile and apply cream blush to the apples of your cheeks, then blend with fingers or a sponge in soft, circular taps. For bronzer, lightly warm the face where the sun would hit—temples, along the hairline and under the cheekbones—using a fluffy brush or your fingers to diffuse edges.
Brows: tidier, not pencil-drawn
Natural brows are about shape and feathered hair-like strokes. Brush brows upward with a spoolie, trim any stray long hairs, then fill sparse spots with a pencil or powder matched to your hair color using short, light strokes. Finish with a clear or tinted brow gel to set hairs in place while keeping texture visible.
Eyes: simplify—neutral shadow, tightline, and a single coat of mascara
For daytime, use one neutral eyeshadow shade close to your skin tone to even out the lid. If you want subtle definition, choose a shade one or two tones darker and apply softly in the outer corner and crease with a fluffy brush. Tightlining (running a soft pencil along the upper waterline) makes lashes appear fuller without any obvious liner.
Apply one thin coat of mascara to the roots, then wiggle through to separate—avoid heavy clumping. If lashes stick together, comb them with a clean spoolie while the mascara is still damp.
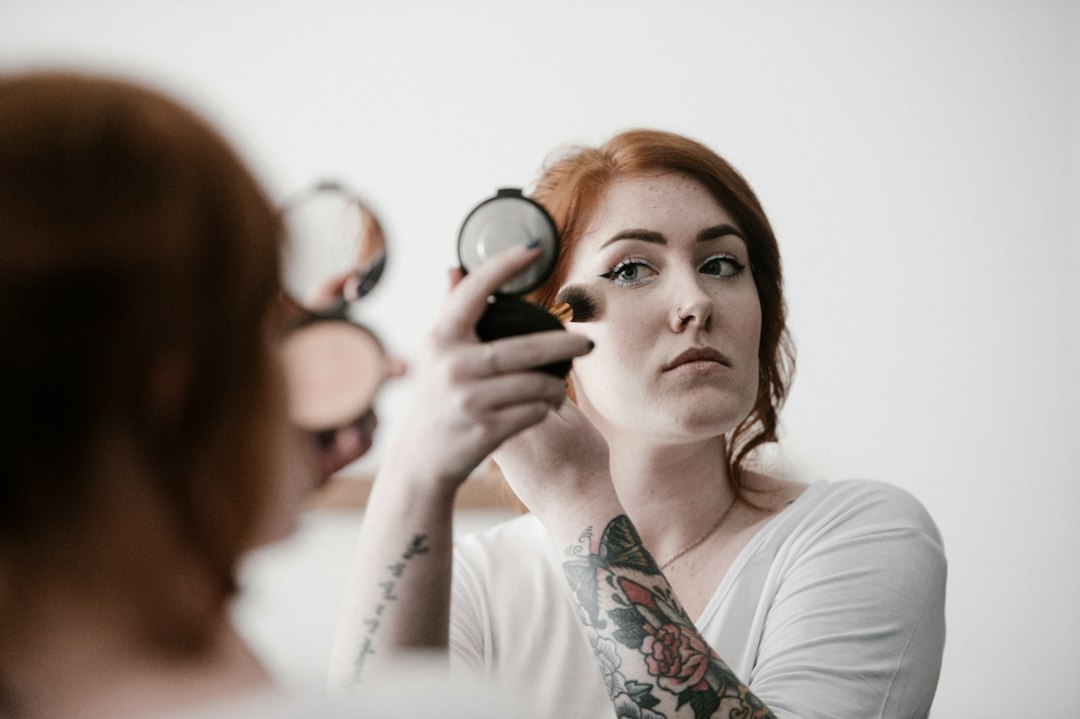
Lips: stain or balm for understated color
A tinted balm or lip stain keeps lips looking natural and hydrated. For a fresher look, blot balm on with your finger and press; for more pigment, layer a light lip stain and top with clear balm. Avoid heavy lip liners—if you use one, smudge it inward so the edge isn’t obvious.
Finish with a lightweight mist and momentary checks
A fine misting setting spray takes away powdery finish and melds layers into skin. Hold the bottle at arm’s length and mist twice in an X and T motion. Do a quick check in natural light—especially at the jawline and under the eyes—to ensure everything is blended and there are no harsh lines.
Common problems and quick fixes
- Pasty or cakey finish: remove excess with a damp sponge and reapply a sheer layer if needed.
- Powder looks chalky: spritz setting mist and press with a clean sponge to revive radiance.
- Blush fades midday: use a tiny dab of cream blush under powder blush to extend wear.
- Brow product looks drawn: soften with a spoolie and use a lighter hand on the tail.
When to adapt this routine
If you have very oily skin, favor mattifying products in the T-zone and a long-wear concealer; for dry skin, boost hydration and use illuminating primers sparingly. If you need longer wear for humid days, set key areas lightly with powder and finish with a longer-lasting mist.
One product recommendation that helps this routine
If you want a single, versatile product to simplify the natural look—especially for base and light coverage—consider a dermatologist-developed liquid foundation that offers light, buildable coverage and a natural finish.
- Skin prepped and moisturized, no dry patches visible
- Coverage thinned to let natural texture show
- Brows brushed and lightly filled, gelled into place
- Cheeks show soft, blended cream color
- Mascara separated, no clumps; lips moisturized
Natural everyday makeup emphasizes skin health, minimal coverage, and soft definition. Prioritize a few cream products and blending; small, deliberate steps produce a look that reads like you—only more rested and polished.
Can I achieve a natural look if I have acne or redness?
Yes—use color-correcting concealer sparingly only on red areas, then apply a thin layer of tinted moisturizer or sheer foundation and blend well to keep texture visible.
Which products are most important for a no-makeup makeup look?
Moisturizer, a sheer coverage base (tinted moisturizer or light foundation), cream blush, a brow gel, and a tinted lip balm are the most impactful.
How do I make cream products last longer?
Layer a powder very lightly over cream products at oily zones or set with a long-wear setting spray to extend wear without losing cream’s natural finish.
Is tightlining safe for sensitive eyes?
Use a soft, ophthalmologist-tested pencil and keep the line thin; avoid if you have frequent eye irritation or infections and consult an eye-care professional if unsure.